Barn doors have been elevated to almost pallet wood status for home projects, albeit a bit more useful! (Stop using potentially toxic pallets BTW.) One of the primary selling points of our home is the combined master bedroom and bath suite. Up until our first child, having no barrier between the two has never been an issue. Now that family is helping out around the house, the ability to close off the bath gives us some flexibility with our master bedroom.

Most newer homes don’t have a segregated bath in the master in our area, and trying to pencil out a door that would fit in our space constraints narrowed our options immensely; example above. Once we came to the realization that a barn door would fit our needs appropriately, it was time to start figuring out the details.

As with many other projects here in House Hacking, we searched Amazon for hardware. Based on our doorway dimensions, the common six foot rail just wasn’t long enough. Enter the six and a half foot kit! The extra 3 inches on each side gives us overlap with the door completely closed, as well as exposing the entire doorway when opened. This was in our wish list for six months before we finally decided to bite off the project…

Our doorway measures 95″ tall and 34.75″ wide on the inside. How much to overlap? That is a great question, and one we had no idea how to answer. After a few searches and articles, This Old House has the most detailed DIY we liked. We decided to mimic their 3″ of total doorway overlap (which is a little overkill on our height, see below) for privacy. We also wanted a rustic look without too much labor and fuss. What to do? Having experience with tongue and groove boards from past office projects, this material seemed like a shoe in. We decided to edge glue the boards together to create the “base” of the door. One bottle of glue and some elbow grease yielded a neat start to this project.

While seeking a rustic look, we also wanted a traditional feel to the door itself. We patterned the frame with the same 1/3 dimensions that are used in the rest of the doors in our home. Some 1″x6″ plain pine board was used with pocket screws for assembly. We did not want to plain or join these boards to keep it on the rough side.

This door is going to be hanging from the top edge, and easily weighs 80lbs. This is well within the working range of the hardware, but we also needed to make sure the door has a health load bearing anchor point. We used a circular saw to lop off an even top, and used biscuits in each vertical board and the header of the fascia frame. This was measured and cut before the frame was completed to ease fitment.

Once all of the base sanding was completed, it was time to attach the frame to the base. We decided on heavy duty construction adhesive to accomplish this task to eliminate any visual hardware or nails. Some clamps and weights help during the cure time. You’ll notice that the frame is smaller than the base, and we did that on purpose 🙂
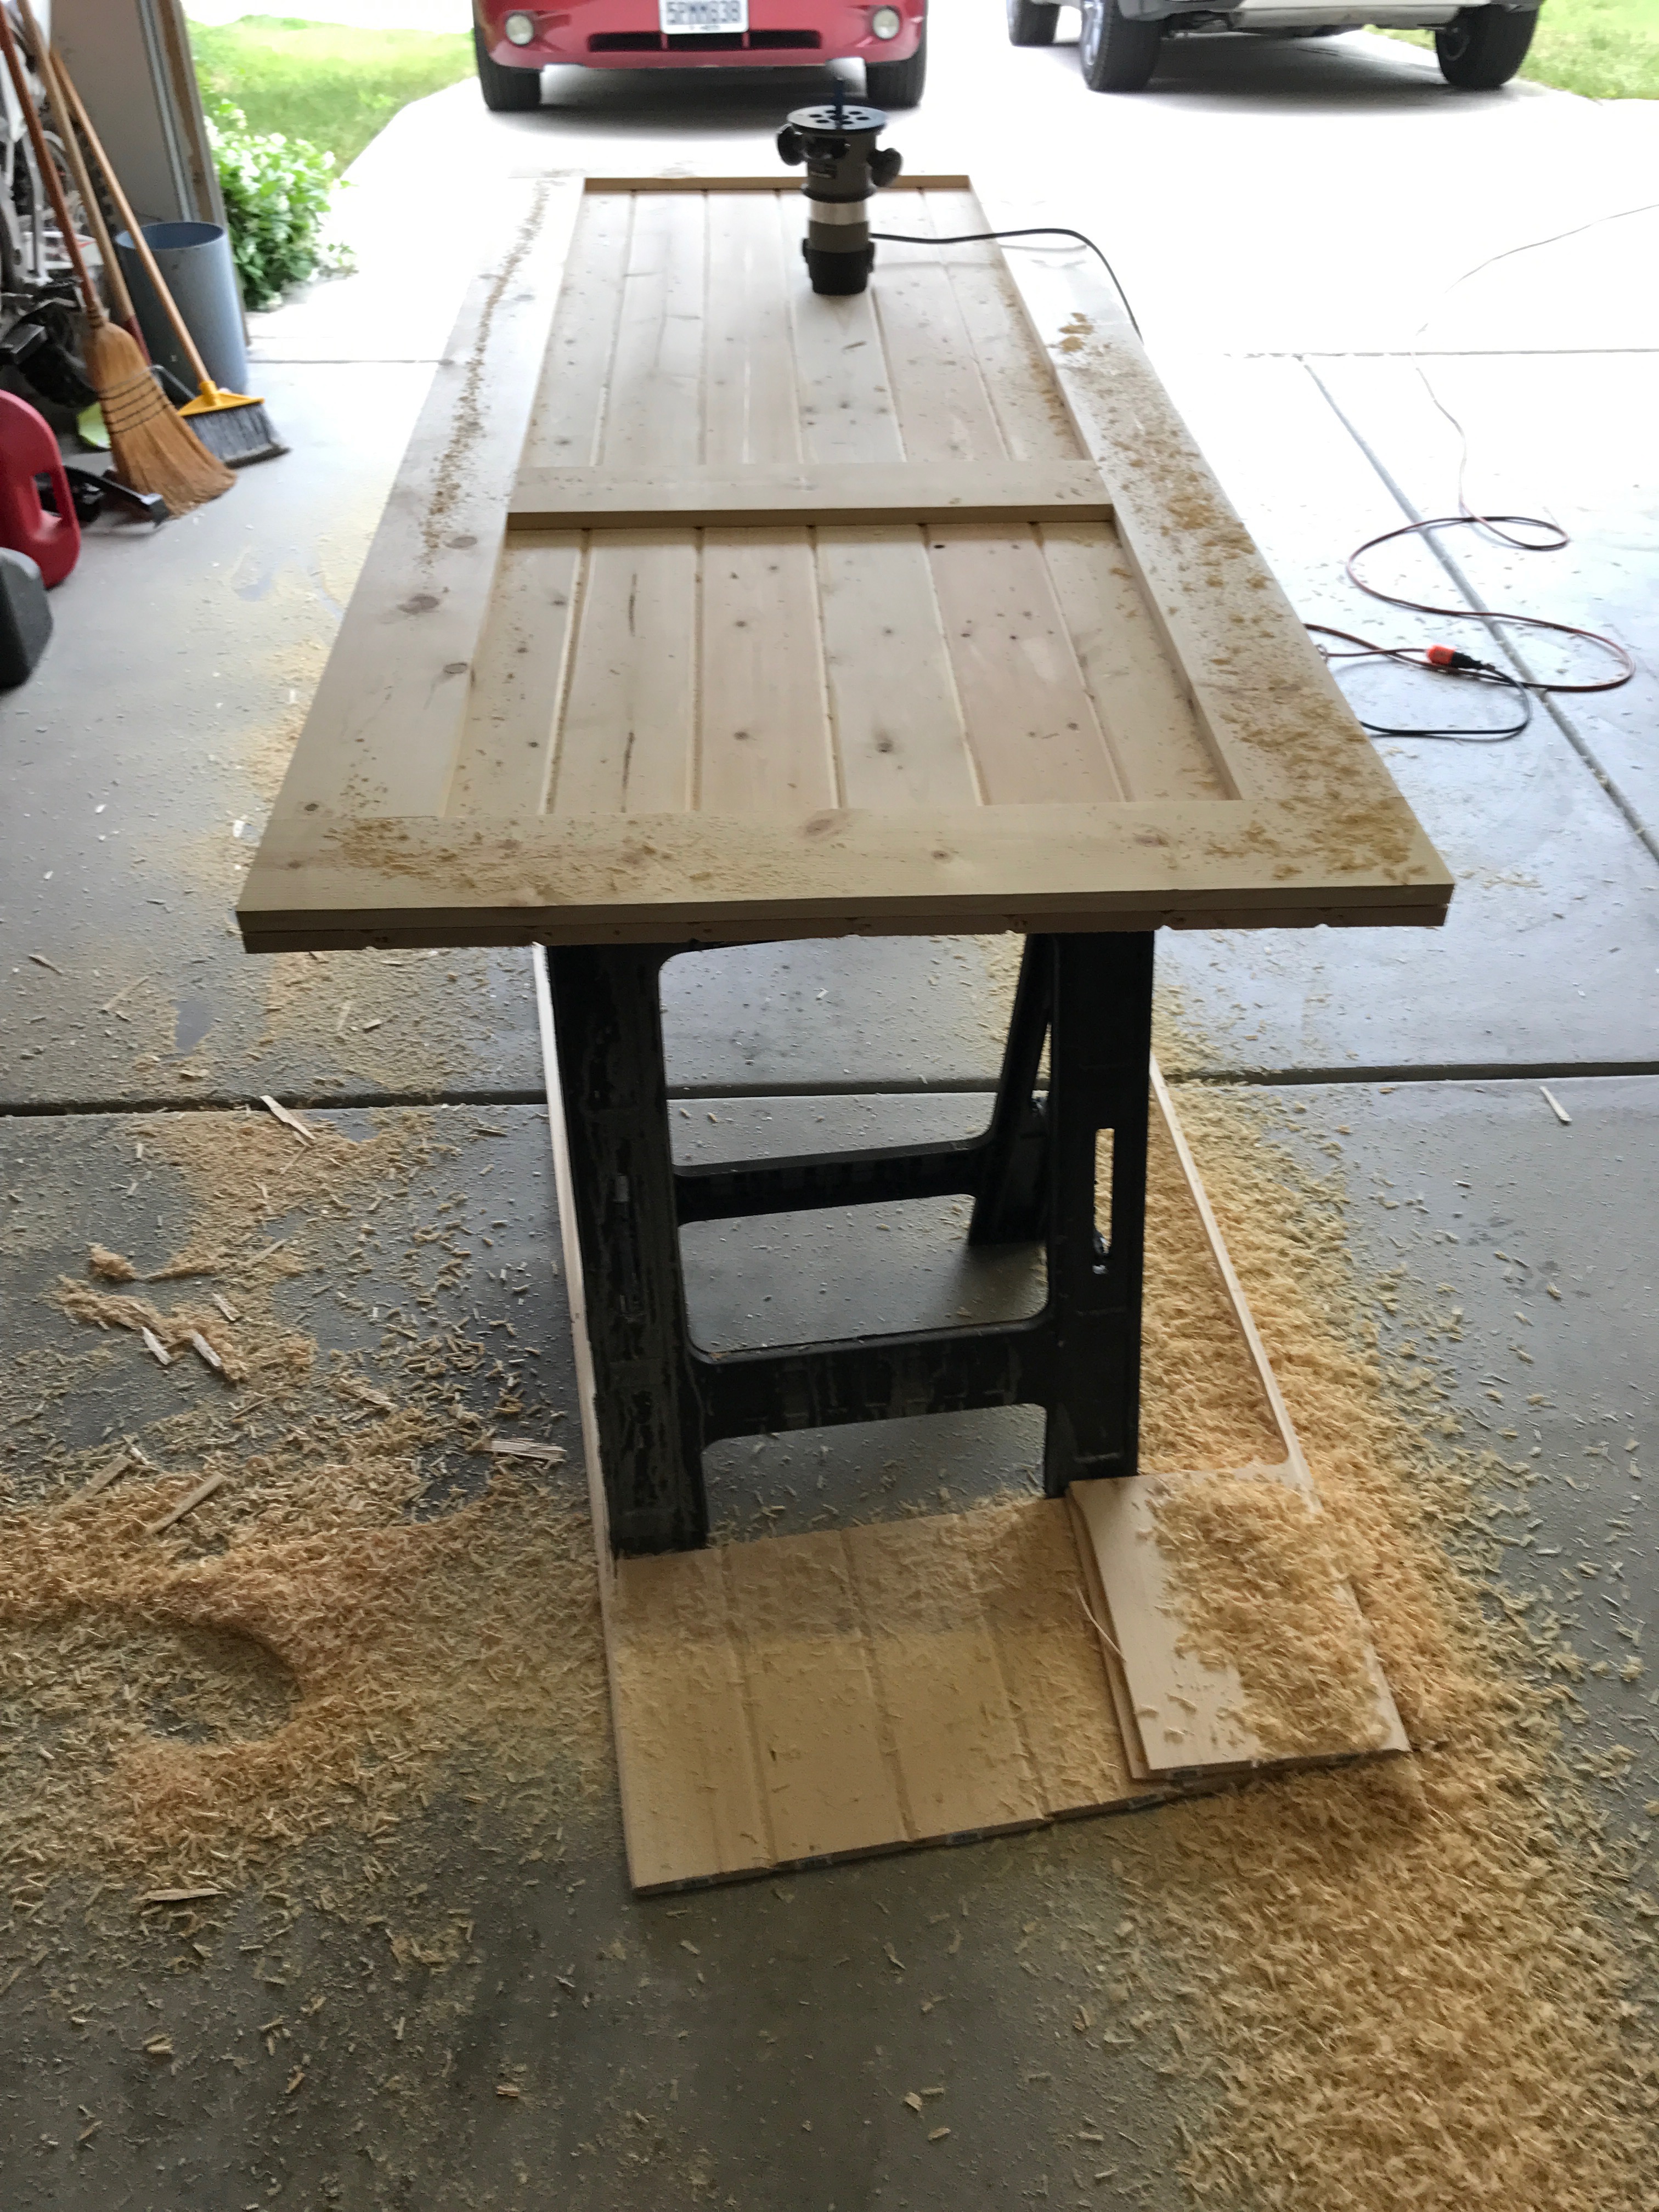
A flush cut router bit made quick work of the soft pine. We were also able to place the frame with the knots we wanted, while excluding some dented parts of the boards.

Fast forward a few steps: we have filled all of the gaps and edges with filler, and routed the internal edge with a door profile router bit. We also used a 1/8″ round over on all exterior edges. The door is perfect! Now to measure the door hardware and drill some large holes in our header board. This is a critical point to set up the height, as we found out later. We were very happy we didn’t alter the measurements in the directions- we did read them 😉

We wanted to stain this project, but with the glued and filled boards and edges, the stain wouldn’t be even. We used a solid primer on the entire door to get a good base for our paint color.

Our last operation on the door was to notch the bottom for the door guide. An edge guide and bit from a previous project worked perfectly.

What color do you paint a large door? With a leftover pine board on hand, we primed it for some paint samples. Paint chips are difficult to get a good idea on, especially with a semi gloss or egg shell finish. Our local big box mixes samples for $4ish each. Add some cheap chip brushes and we are ready to see some life sized samples over our wood floor, furniture and daylight.

Once the hardware was hung, it was time to fit the bottom door guide. We mis-measured the rail height, and needed to raise the guide 3/4″. Things happen.

Door hung and finished! View from the bedroom.

View from the bath closed.
Have a story to share? Text (760) 814-1850 or email info@1850realty.com

Helping Make Your House a Home